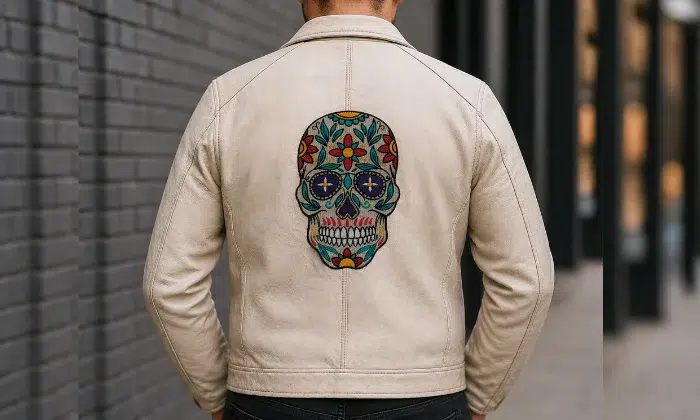
Big artwork looks bold and eye-catching. It is great for jackets, backs, and large items. But turning big artwork into clean stitch designs is not easy. It needs planning, skill, and the right setup.
Many people think they can just resize a design and stitch it. That does not work well. Large designs need special care. That is why experts often Digitize Jacket Back Embroidery Designs to make sure everything runs smooth on the machine.
When you prepare big artwork the right way, your final result looks clean, sharp, and professional.
What Makes Big Artwork Different?
Big artwork is not the same as small designs.
It has:
- More space to fill
- More stitch count
- More detail to manage
This means you need a different approach.
Why Large Designs Need Special Setup
More Stitch Count
Why It Matters:
Large designs need more stitches.
Result:
Longer run time and more load on fabric.
Higher Risk of Errors
Why It Matters:
More stitches mean more chances of issues.
Result:
Thread breaks or uneven stitching.
Fabric Stress
Why It Matters:
Heavy stitching can pull fabric.
Result:
Puckering or damage.
Real Experience: Common Problems with Big Designs
Many beginners try large embroidery without proper setup.
They often face:
- Loose threads
- Gaps in design
- Distorted shapes
- Uneven fill areas
Experts at Absolute Digitizing solve these issues by setting up each part of the design carefully before stitching.
Step-by-Step: Turning Big Artwork into Stitch Designs
Step 1: Start with Clean Artwork
Why It Matters:
Clear design gives better results.
Tip:
Use high-quality image or vector file.
Step 2: Simplify the Design
Why It Matters:
Too many details are hard to stitch.
Tip:
Remove small or hidden parts.
Step 3: Break Design into Sections
Why It Matters:
Large designs are easier in parts.
Tip:
Divide into logical areas.
Step 4: Choose Right Stitch Types
Why It Matters:
Each part needs the right stitch.
Options:
- Fill stitch for large areas
- Satin stitch for borders
- Run stitch for fine lines
Step 5: Adjust Stitch Density
Why It Matters:
Controls fabric and look.
Tip:
Keep density balanced.
Step 6: Add Underlay
Why It Matters:
Supports top stitches.
Result:
Smooth and stable design.
Step 7: Set Stitch Direction
Why It Matters:
Improves texture and flow.
Step 8: Test the Design
Why It Matters:
Check before final run.
Tip:
Always stitch a sample.
Importance of Stitch Density in Large Designs
Density plays a big role.
High Density
Problem:
Fabric gets stiff and damaged.
Low Density
Problem:
Design looks weak.
Balanced Density
Result:
Clean and strong finish.
Why Stitch Direction Matters
Direction changes how stitches look.
Same Direction
Result:
Flat and dull design.
Mixed Direction
Result:
Better depth and shine.
Role of Underlay in Big Designs
Underlay is the base layer.
Benefits:
- Holds fabric in place
- Supports top stitches
- Improves coverage
Without underlay, large designs can look uneven.
Fabric Choice for Large Embroidery
Fabric type affects the result.
Thick Fabric
Can hold heavy designs.
Thin Fabric
Needs light stitching.
Stretch Fabric
Needs special setup.
Always match design with fabric.
Common Mistakes in Large Embroidery
Skipping Design Breakdown
Leads to uneven stitching.
Using Same Density Everywhere
Causes poor results.
Ignoring Fabric Type
Leads to distortion.
No Testing
Results in errors.
How Professionals Handle Big Designs
Experts follow a clear process.
Analyze Artwork
Check every detail.
Plan Stitch Flow
Set the correct path.
Balance Density
Adjust for each area.
Use Proper Underlay
Support all sections.
Test Before Final
Ensure perfect output.
This process ensures high-quality results.
File Formats for Large Designs
Machines use special formats.
Common Formats:
- DST
- PES
- EXP
These files guide the machine.
Why Beginners Struggle with Big Designs
Beginners often:
- Use raw artwork
- Skip planning
- Ignore stitch settings
This leads to poor output.
How Good Setup Saves Time and Cost
Bad setup causes:
- Rework
- Waste of thread
- Fabric damage
Good setup avoids these problems.
Why Large Designs Are Great for Branding
Big embroidery makes a strong impact.
Bold Look
Easy to notice.
Professional Feel
Shows quality work.
Strong Identity
Builds brand image.
EEAT in Large Design Embroidery
Good embroidery follows strong values.
Experience
Hands-on work with large designs.
Expertise
Deep knowledge of stitch setup.
Authority
Consistent quality output.
Trustworthiness
Reliable and tested designs.
These values help build trust in your work.
Tips for Perfect Large Stitch Designs
Use High-Quality Artwork
Start with clean design.
Keep It Simple
Avoid too many small details.
Plan Each Section
Break design into parts.
Test Before Final Run
Always check sample.
Work with Experts
Professional help improves quality.
Why Businesses Trust Experts
Large designs are not easy.
They need skill and planning.
That is why many brands trust Absolute Digitizing for handling big embroidery designs with care and precision.
How Large Designs Affect Machine Performance
Good setup helps machines run better.
Smooth Operation
Less thread breaks.
Faster Stitching
Better path planning.
Less Wear
Machine lasts longer.
Final Thoughts
Turning big artwork into perfect stitch designs takes more than just resizing. It needs proper setup, planning, and testing.
When you follow the right steps, your embroidery looks clean, bold, and professional. You also save time and avoid mistakes.
With expert support from Absolute Digitizing, you can turn any large artwork into a smooth and high-quality stitch design that stands out on any fabric.